Mods feel free to move this, I just figured I'd post some things I found useful that may help beginners like myself on this project....
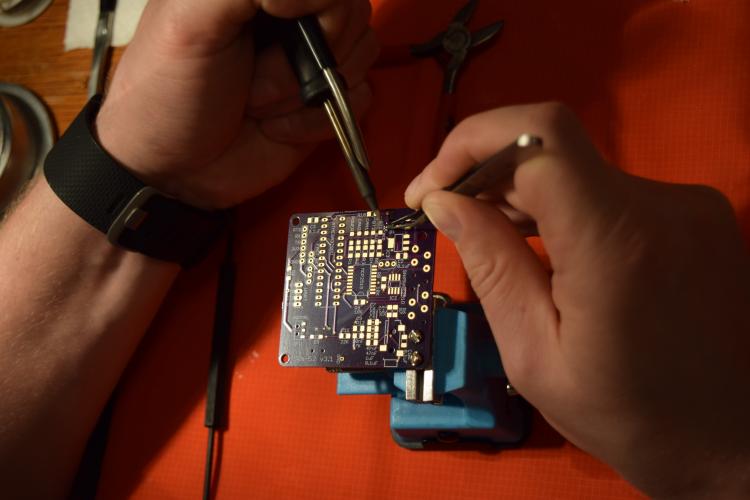
So I have soldered a decent amount of things from guitar electronics to car wiring harnesses and even some other PCB boards before but I had never done anything with surface mount pieces as used on the BlueSaab adaptor, it had always been through-hole soldering. I quickly found that it was a little different and required a third arm to coordinate holding the piece in place, using the soldering iron, and applying the solder. I ended up damaging a few capacitors trying to do this and decided I needed a new approach. After a bit of googling it seems like there are some things that would make it a little easier.
I ended up ordering some solder paste, which sort of dispenses like toothpaste and lets you apply some solder to the pads and the cap/resistor/etc and frees up a hand to hold the piece in place while you solder. This is what I chose but there are many options out there:
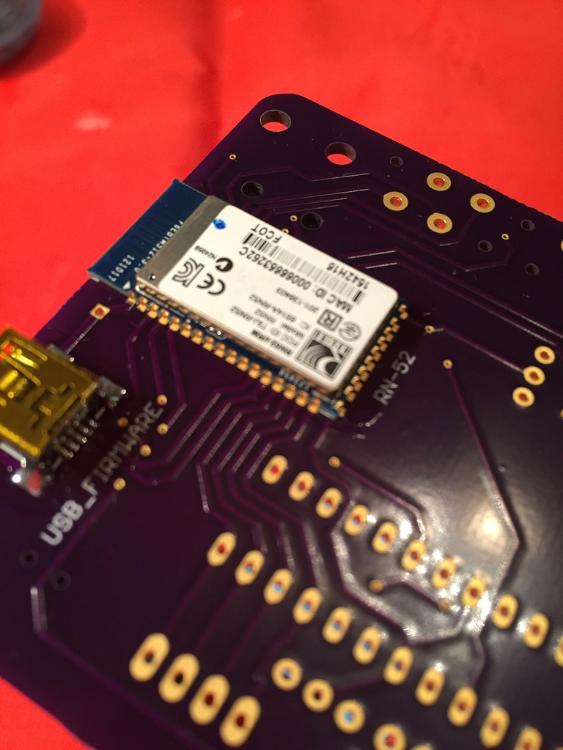
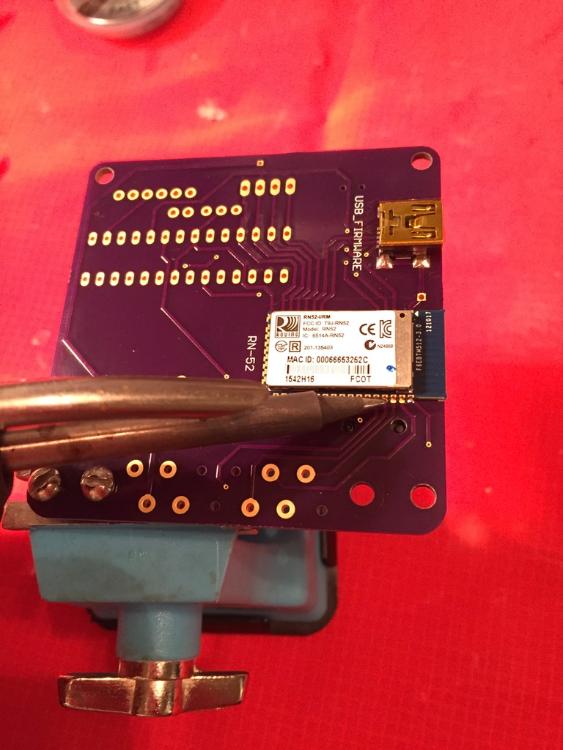
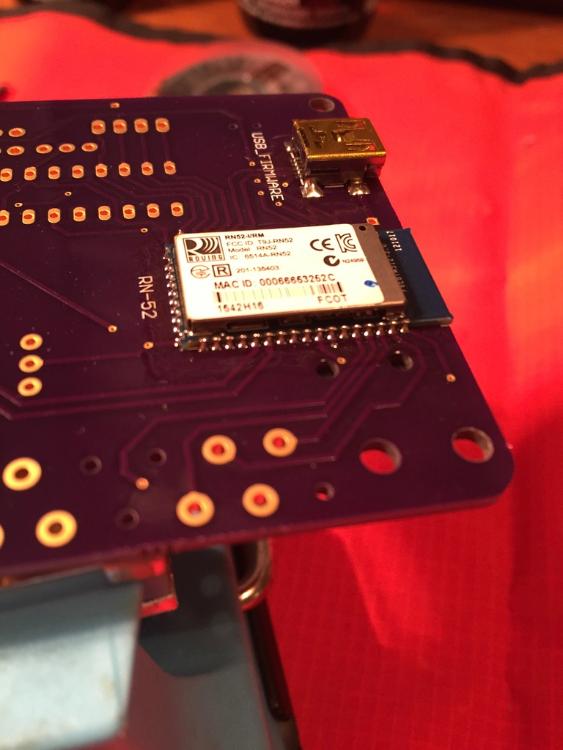
http://www.amazon.com/MG-Chemicals-4900P-25G-Solder-Silver/dp/B00XYB73MUAnd then I watched a few videos for some techniques on how to apply the paste. For the big pads for capacitors and resistors I applied a little dot of paste on the pad and then on the component as well, you have to be a little careful not to put too much as the paste spreads out a bit when you heat it. For the chips I did what they show in this video, put the chip in place and then run a bead across the pins on the board and then heat with the iron and the solder will wick up from the board onto the pins.
https://www.youtube.com/watch?v=5uiroWBkdFYThis all may be painfully obvious for anyone who has done projects like this before but I just figured I'd share it in case anyone else is unsure how to begin with the BlueSaab project as I was.


 :
: